继读京山游侠《使用 GCC 和 GNU Binutils 编写能在 x86 实模式运行的 16 位代码》一文之后,进行了VESA编程试验。
试验在bochs下以软盘启动通过:(环境为Ubuntu18(64bit),apt-get install bochs bochs-x hexedit)
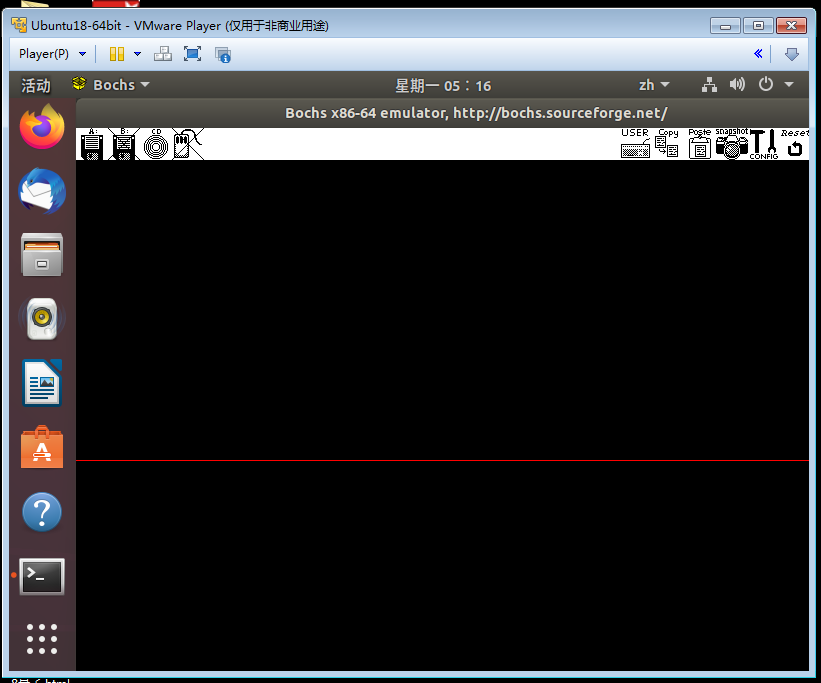
效果如图:
(汇编版)
(c语言版)
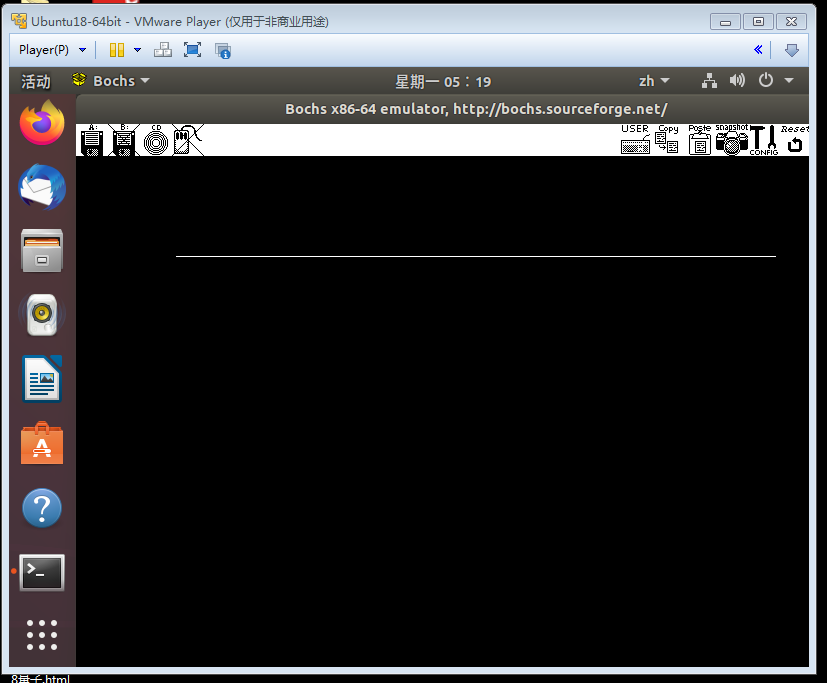
至此试验初步就告完成。结论是:从16位实模式进了32位保护模式然后又返回实模式可以访问4GB内存,可写0xe0000000物理地址的VESA (LFB模式的)显存。 参阅了《vbe3标准》和《操作系统实现之路》《Linux内核完全剖析》《一个64位操作系统的设计与实现》《最新VESA/SVGA图形图像编程秘技》 《simple_os_book》等和一些网文, 表示谢意。
源文件打包在此:bochs软盘启动版:boot3_bochs_0.9992.tgz。
试验在bochs下以软盘启动通过:(环境为Ubuntu18(64bit),apt-get install bochs bochs-x hexedit)
boot3.S( for bochs ):
.code16gcc
.global _start
.text
.align 4
_start:

###### A20 ########

     pushl  %eax
     pushl  %ecx            # needed to save, (demo code is like this)

     cli


     xor  %eax,  %eax

     movw $0x2401 ,  %ax
     int  $0x15             #al 00-disabled 01-enabled

     movw $0x2402 ,  %ax
     int  $0x15             #al 00-disabled 01-enabled


     sti

     popl   %ecx
     popl   %eax


###################

##### VESA #######

     pushw %di
     pushl %eax
     pushl %ecx
     pushw %bx

     movw  $0x8000, %di

     movw  $0x4115, %bx
     movw $0x4f02, %ax

     int  $0x10

     movb  %ah,  number

     popw %bx
     popl %ecx
     popl %eax
     popw %di

#########################

########  protected mode ########
     cli

     lgdt   gdt_48
     movl   %cr0,  %eax
     orl    $1 , %eax
     movl   %eax, %cr0

     ljmp     $0x8, $protcseg
#################################

####### write video ram ####
.code32
write_vram:

     sti

     pushl  %eax
     pushw  %ds
     pushw  %di


#.byte 0x66
     movl $0xe0000000, %eax
     addl $720000,      %eax
     movw   %fs,  %cx
     movw   %cx,  %di

     calll  main2
     jmp .                 # remove these two lines to show assembly drawing


     movl $800, %ecx
loop:

     movl $0x00ff0000, (%eax)

     addl $3,   %eax
     subl $1,   %ecx
     cmp  $0,   %ecx
     jnz  loop

     popw  %di
     popw  %ds
     popl  %eax

     jmp .

##################


.code16gcc
##### base code ###
base:
   pushw %ds
   pushw %es
   pushw %ss

   movw %cs, %ax
   movw %ax, %ds
   movw %ax, %es
   movw %ax, %ss

    pushw %sp

    movw $stack, %ax
    movw  %ax, %sp

    calll  main2

    popw %sp
    movw $stack, %sp

    popw %ss
    popw %es
    popw %ds


    hlt


message:
   .string "Hello, world!\n\0"

.global display_str
display_str:
  pushl        %ebp
  movl   %esp, %ebp

  and 0xfffffff0, %esp

  pushl %ebp

  pushl %ebx
  pushl %ecx
  pushl %edx


   movw    0x0c(%ebp) , %cx       # 15
   movw     0x8(%ebp),  %bp       #  movw  $message, %bp
  movw $0x1301, %ax
  movw $0x000c, %bx
  movw  $0x0,   %dx

  int $0x10

   popl %edx
   popl %ecx
   popl %ebx

  popl %ebp

#   movl %ebp, %esp
#   popl %ebp
   leavel
   retl


.org  .+0x40
stack:


.code32
protcseg:

     sti


     movw  $0x10,  %ax
     movw %ax, %ds        # this is indispensable


######### return to real mode ######
.code16gcc
     cli

     movl   %cr0,  %eax
     andl    $0xfffffffe , %eax
     movl   %eax, %cr0


#DATA32 ADDR32
     jmp     $0x0, $write_vram    #ljmp $0x08, $write_vram #jmp  write_vram

####################################
.code32
gdt:   .word 0,0,0,0
    .word  0xffff
    .word  0x0000
    .word  0x9a00
    .word  0x00cf

    .word  0xffff
    .word  0x0000
    .word  0x9200
    .word  0x00cf

#    .word  0xffff
#    .word  0x0000
#    .word  0x9200
#    .word  0xe0cf

      .word 0,0,0,0
#      .word 0,0,0,0

gdt_48:    .word  0x1f
           .long  gdt
boot3.c( for bochs ):
编译脚本如下:(注意然后要手动dd到空白软盘镜像和用hexedit改最后两个字节为0xAA55)
__asm__(".code32\n");


void display_str(char* str, short length);

int number ;
int number2;

void main2()
{
   char* str;

   number2 = number;
      char* pAddress = (char*)0xe0000000;
      pAddress +=300*800 + 100*3;
      for(int i = 0; i < 2400-200*3; i++)
      {
         *pAddress = 255;
	 pAddress += 1;
      }
      while(1)
	 ;
}
make3.sh(for bochs):
运行bochs配置文件如下:
#!/bin/bash
   rm -f boot *.o *.out boot.img    disassem.asm

   as --32 boot3.S -o boot3_S.o
   gcc -c -m32 boot3.c  -o boot3_c.o
   ld -Ttext 0x7c00  -m elf_i386  boot3_S.o  boot3_c.o   -o  boot.elf
     objdump -D -m i8086   boot.elf  >  disassem.asm
   objcopy -j .text  -j .rodata   -O binary  boot.elf  boot.out
     dd if=/dev/zero of=boot.img bs=512 count=1
 #    dd if=boot.out of=boot.img bs=96 count=1 conv=notrunc
bochsrc(for bochs):
运行命令:bochs -f ./bochsrc
config_interface: textconfig
#display_library: sdl
#romimage: file=/usr/share/bochs/BIOS-bochs-latest, address=0xf0000
romimage: file=/usr/share/bochs/BIOS-bochs-latest
megs: 32
vgaromimage: file=/usr/share/vgabios/vgabios.bin
floppya: type=1_44, 1_44="boot.img", status=inserted
ata0: enabled=1, ioaddr1=0x1f0, ioaddr2=0x3f0, irq=14
ata1: enabled=0, ioaddr1=0x170, ioaddr2=0x370, irq=15
ata2: enabled=0, ioaddr1=0x1e8, ioaddr2=0x3e0, irq=11
ata3: enabled=0, ioaddr1=0x168, ioaddr2=0x360, irq=9
#ata0-master: type=disk, path="", mode=flat, cylinders=1024, heads=16, spt=63
ata0-slave: type=cdrom, path="/dev/cdrom", status=inserted

boot: floppy

#ips: 1000000
floppy_bootsig_check: disabled=0
log: /dev/stdout
panic: action=ask
error: action=report
info: action=report
debug: action=ignore
debugger_log: -
com1: enabled=1, dev=/dev/ttyS0
parport1: enabled=1, file="/dev/lp0"
sb16: midimode=1, midi=/dev/midi00, wavemode=1, wave=/dev/dsp, loglevel=2, log=/dev/stdout, dmatimer=600000
vga_update_interval: 300000
keyboard_serial_delay: 250
keyboard_paste_delay: 100000
#floppy_command_delay: 500
mouse: enabled=1
private_colormap: enabled=0
#ne2k: ioaddr=0x240, irq=9, mac=b0:c4:20:00:00:00, ethmod=linux, ethdev=eth0
#keyboard_mapping: enabled=0, map=/usr/share/bochs/keymaps/x11-pc-de.map
#keyboard_type: mf
#user_shortcut: keys=ctrlaltdel
#magic_break: enabled=1
#cmosimage: cmos.img
#load32bitOSImage: os=nullkernel, path=../kernel.img, iolog=../vga_io.log
#load32bitOSImage: os=linux, path=../linux.img, iolog=../vga_io.log, initrd=../initrd.img
#i440fxsupport: enabled=1
#usb1: enabled=1, ioaddr=0xFF80, irq=10
#text_snapshot_check: enable
效果如图:
(汇编版)
(c语言版)
至此试验初步就告完成。结论是:从16位实模式进了32位保护模式然后又返回实模式可以访问4GB内存,可写0xe0000000物理地址的VESA (LFB模式的)显存。 参阅了《vbe3标准》和《操作系统实现之路》《Linux内核完全剖析》《一个64位操作系统的设计与实现》《最新VESA/SVGA图形图像编程秘技》 《simple_os_book》等和一些网文, 表示谢意。
源文件打包在此:bochs软盘启动版:boot3_bochs_0.9992.tgz。

